Sign Up
In this step, sign up for the AgentTeams web app and create your first project from the start screen. On first sign-in, you do not land directly on a project screen; AgentTeams first shows an onboarding screen for project creation.
Sign in
Use the AgentTeams web app at https://agentteams.run. Sign in with a GitHub or Google account; this creates your account along with a default team. CLI authentication (agentteams init) links to the same account, so keep the web account and local CLI account aligned.
Structure
After sign-up, work is organized by team and project. Project entities such as plans, runner requests, conventions, completion reports, and documents live inside a project. If your team works across multiple products or repositories, split projects by the actual unit of work.
| Item | Role |
|---|---|
| Account | The individual user who signs in to AgentTeams |
| Team | The organization unit for shared members and permissions |
| Project | The work unit that connects plans, repositories, runner requests, and documents |
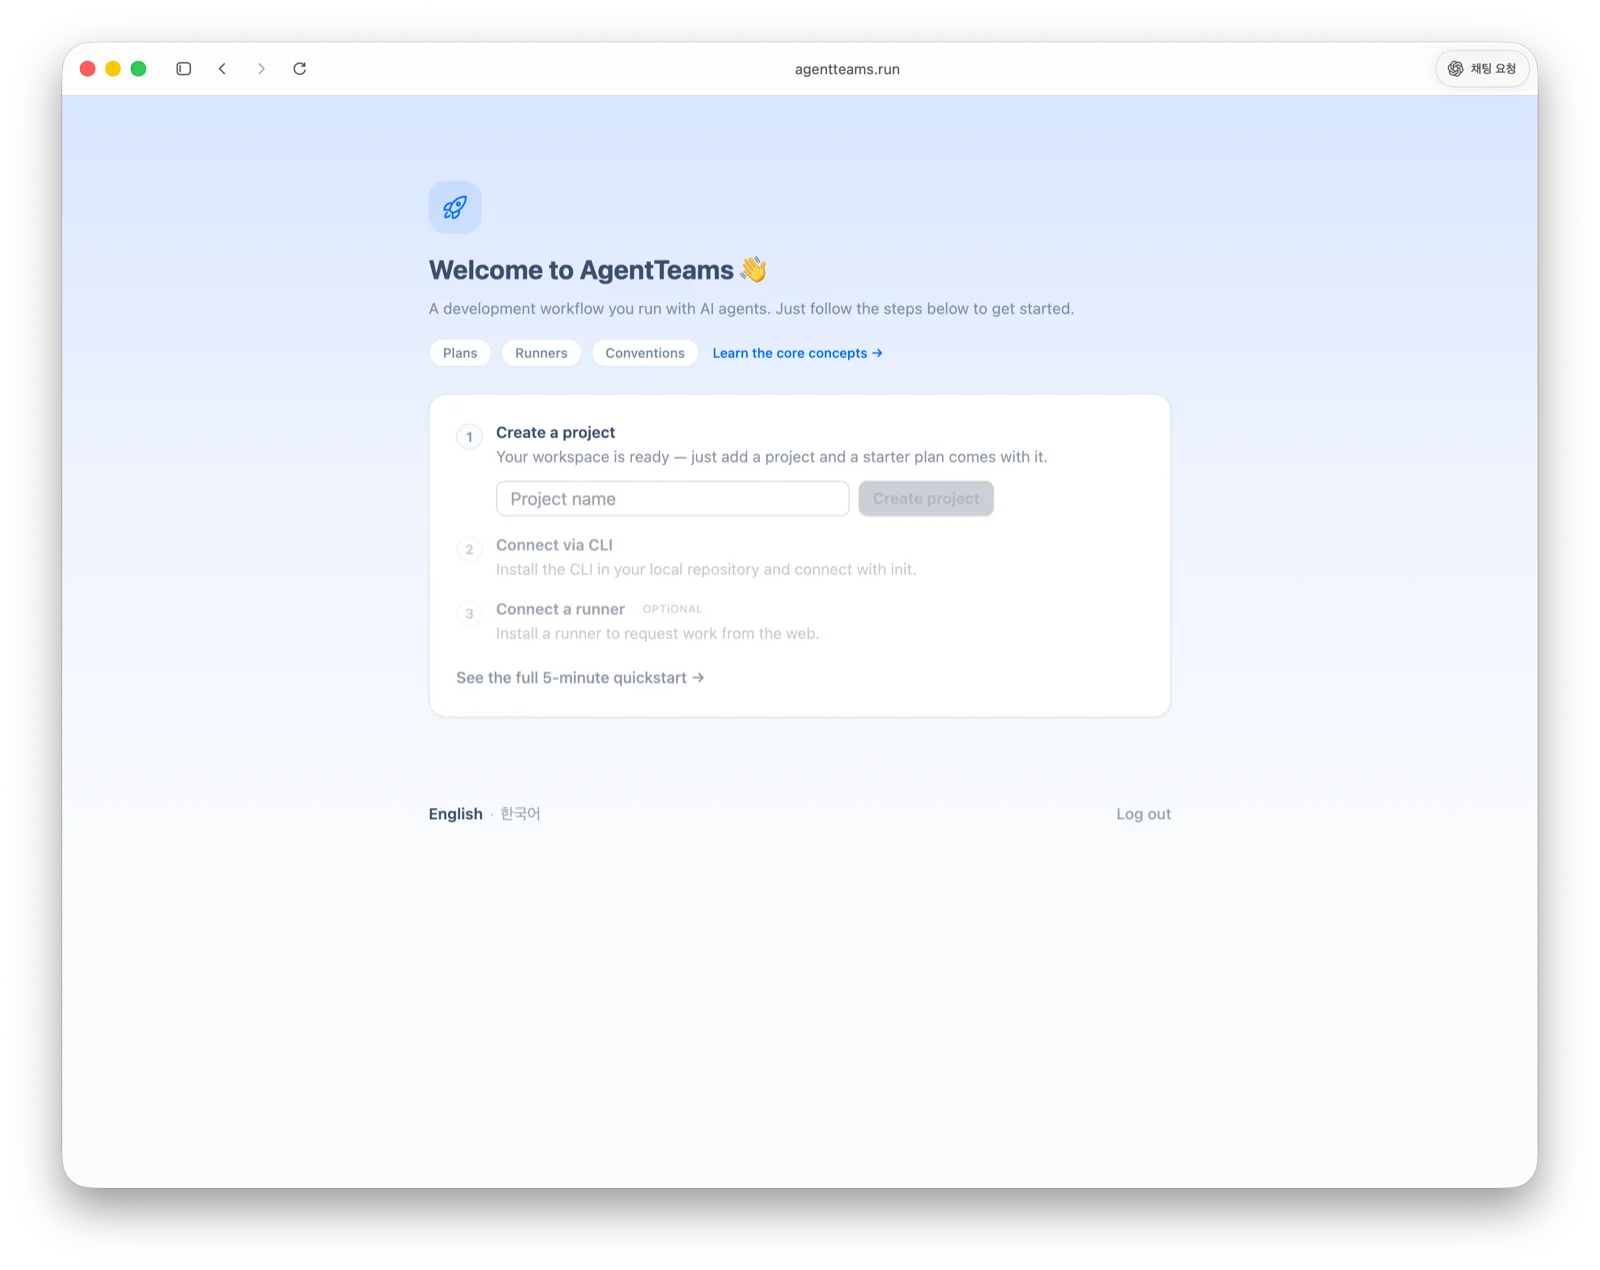
First sign-in start screen
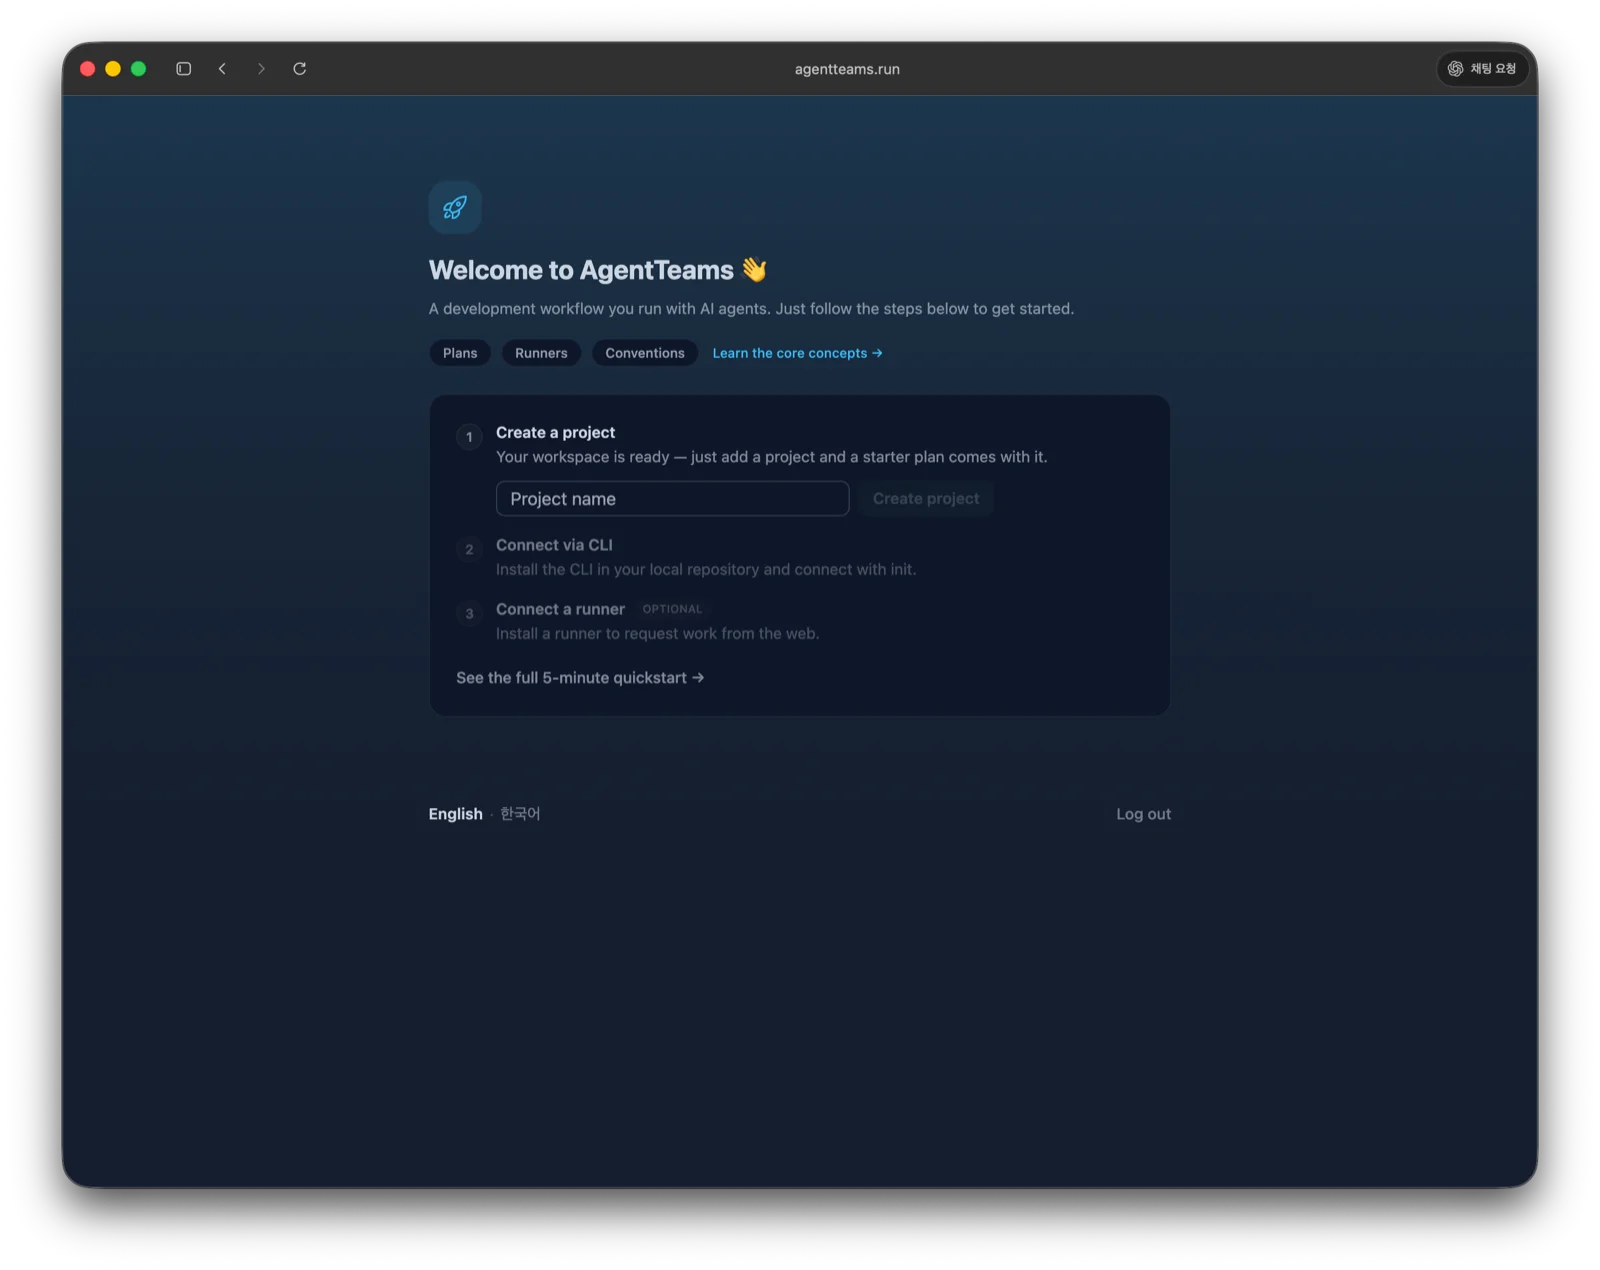
On first sign-in, AgentTeams shows the Welcome to AgentTeams start screen instead of a project screen. This screen introduces the core concepts and provides the input for creating your first project.
Create the first project
Enter a project name on the start screen to create the project. The project name appears in the web project list, CLI project picker, and runner request screens, so match it to the real service or repository name when possible.
Then use project settings to connect members, default language, repositories, and notifications.
After project creation
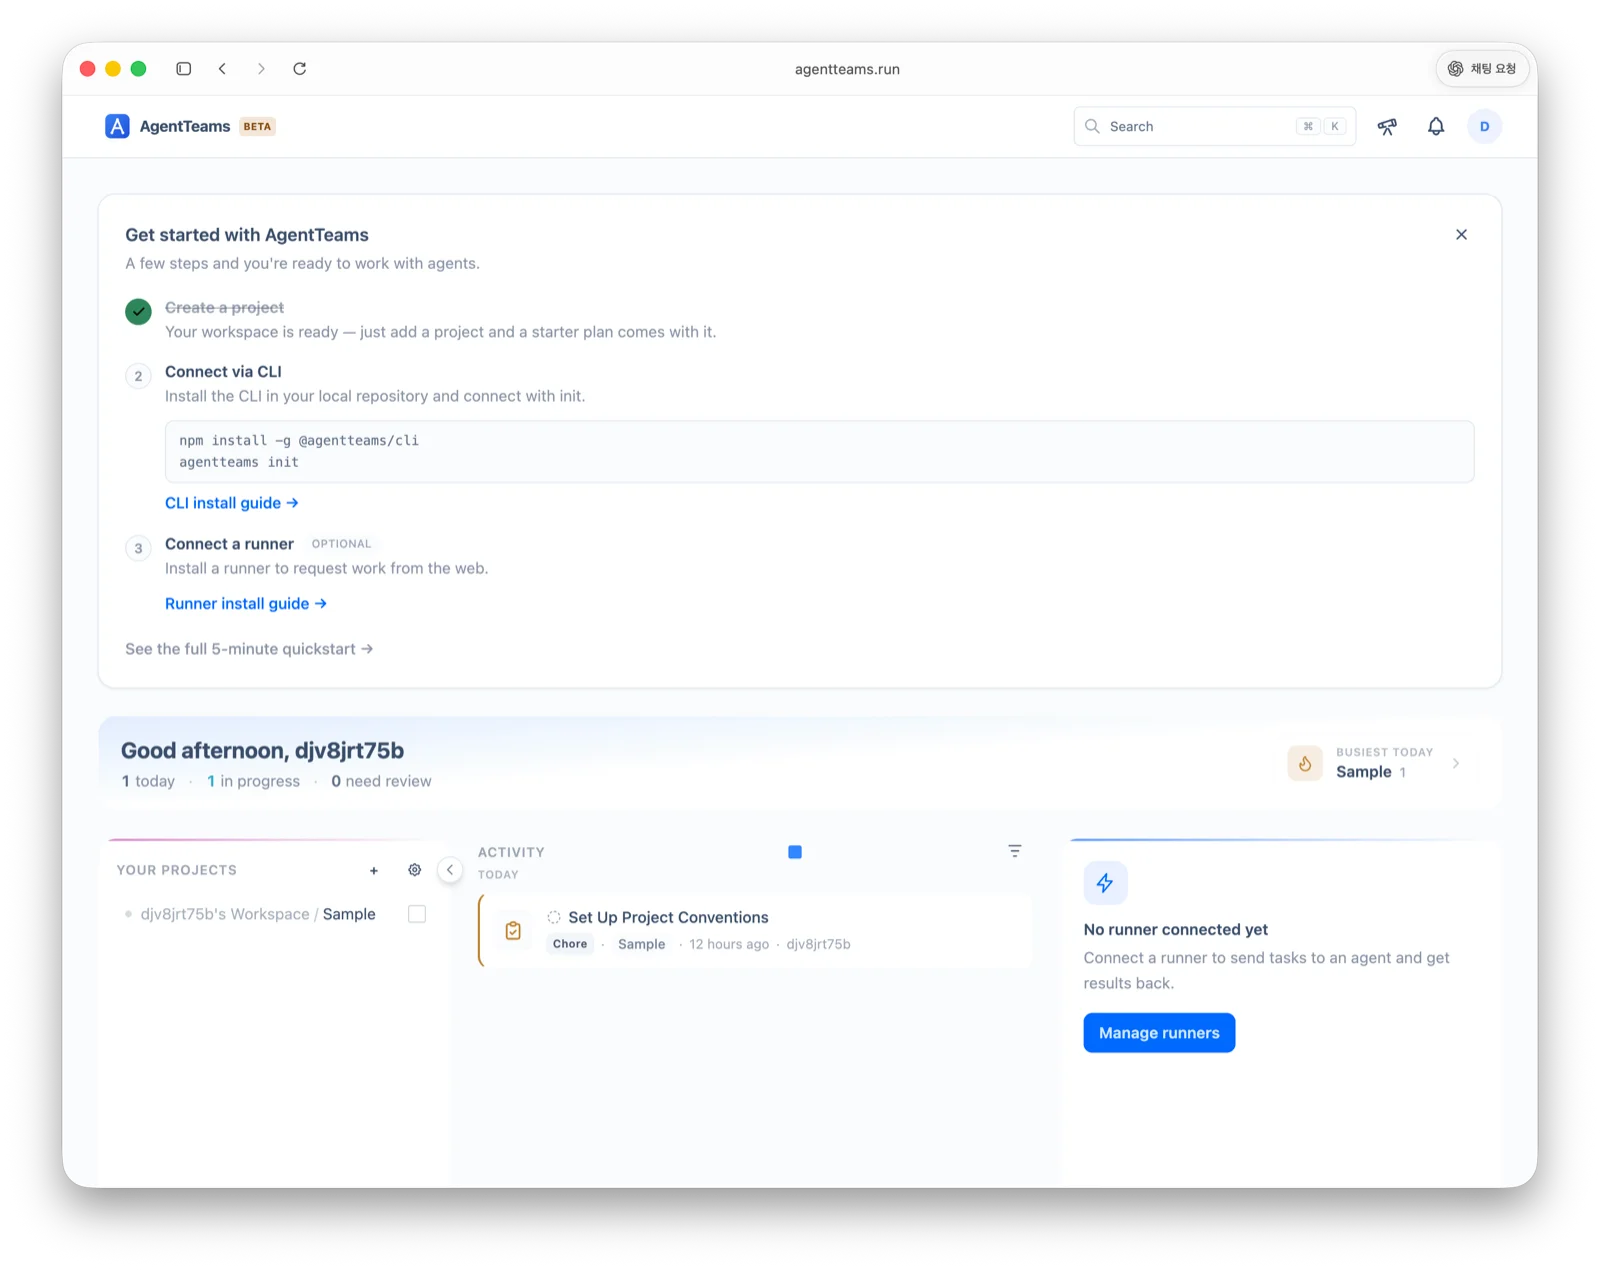
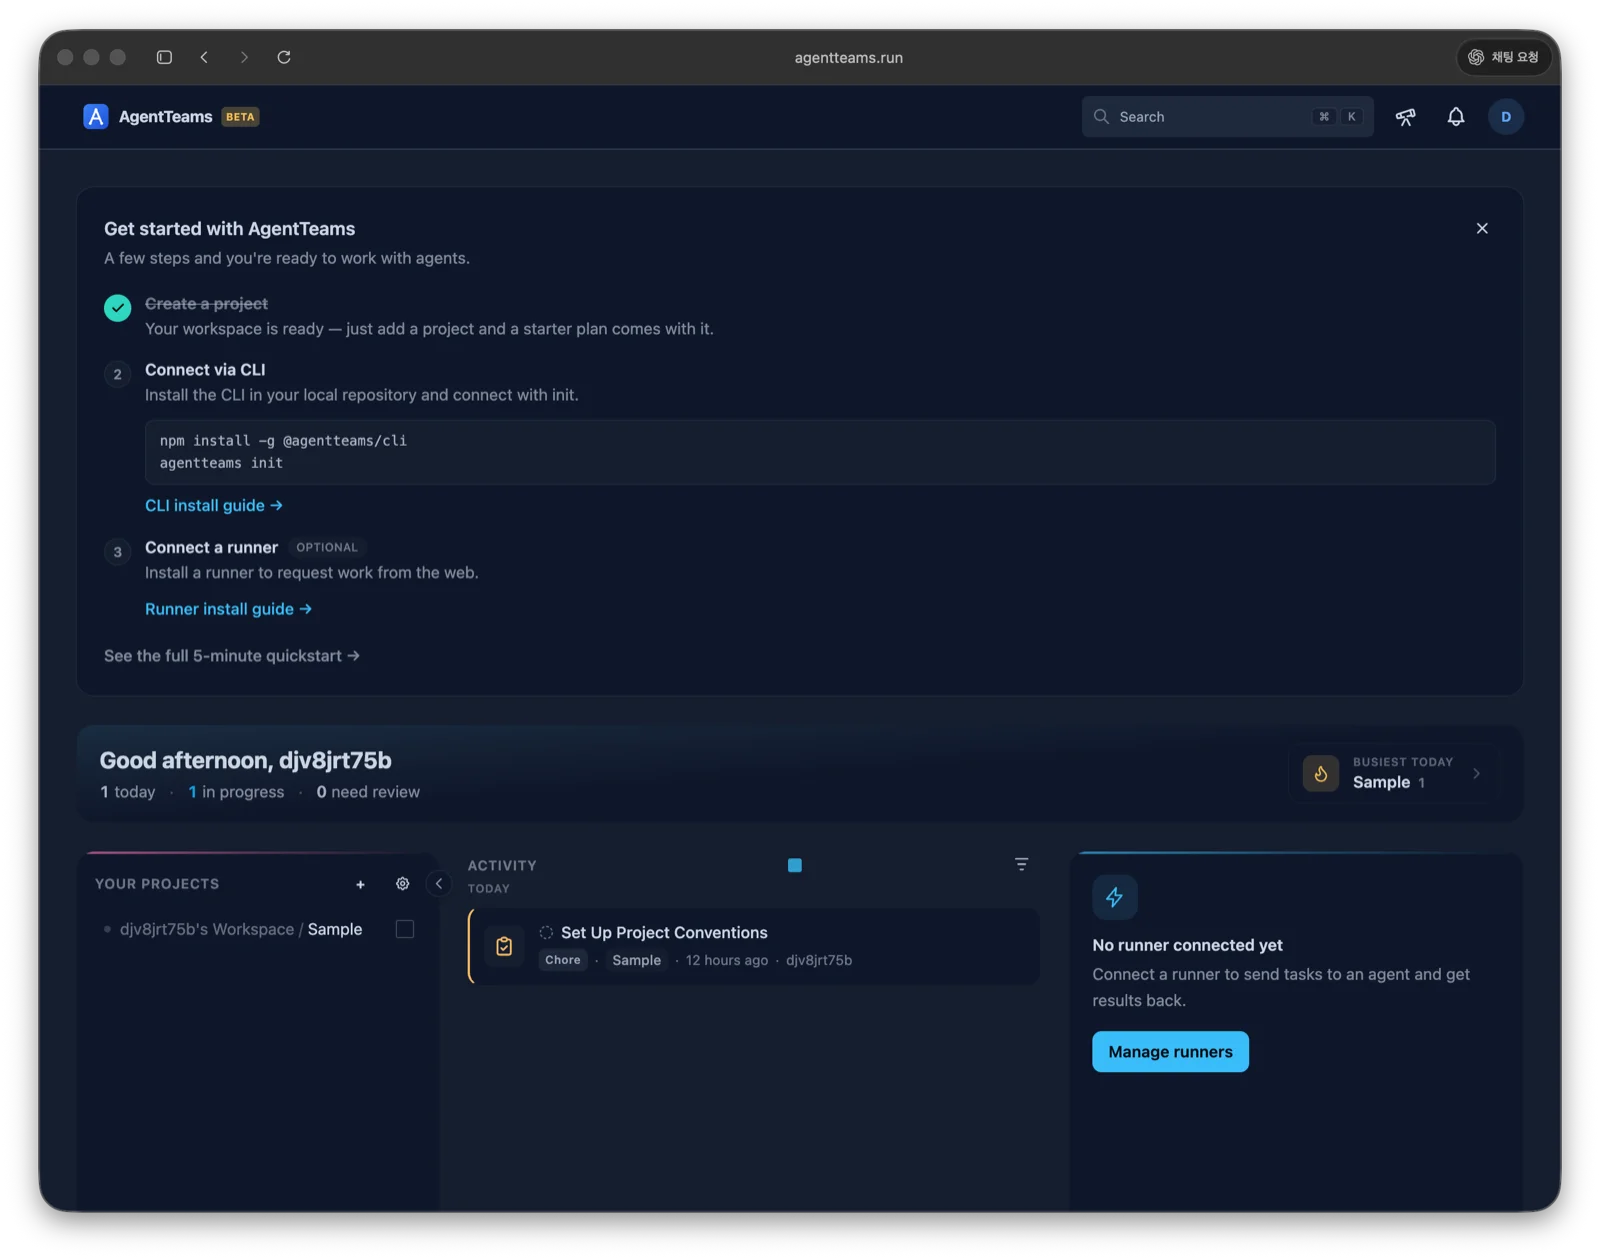
After creating the first project, AgentTeams opens the project dashboard. The top area shows the next setup steps for CLI installation and runner installation, and the page below shows the created project and activity area. The project’s first plan, “Set Up Project Conventions”, is also registered automatically. See Conventions for details.
Next up: Project Settings.